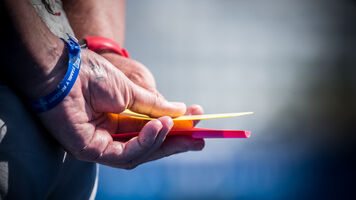
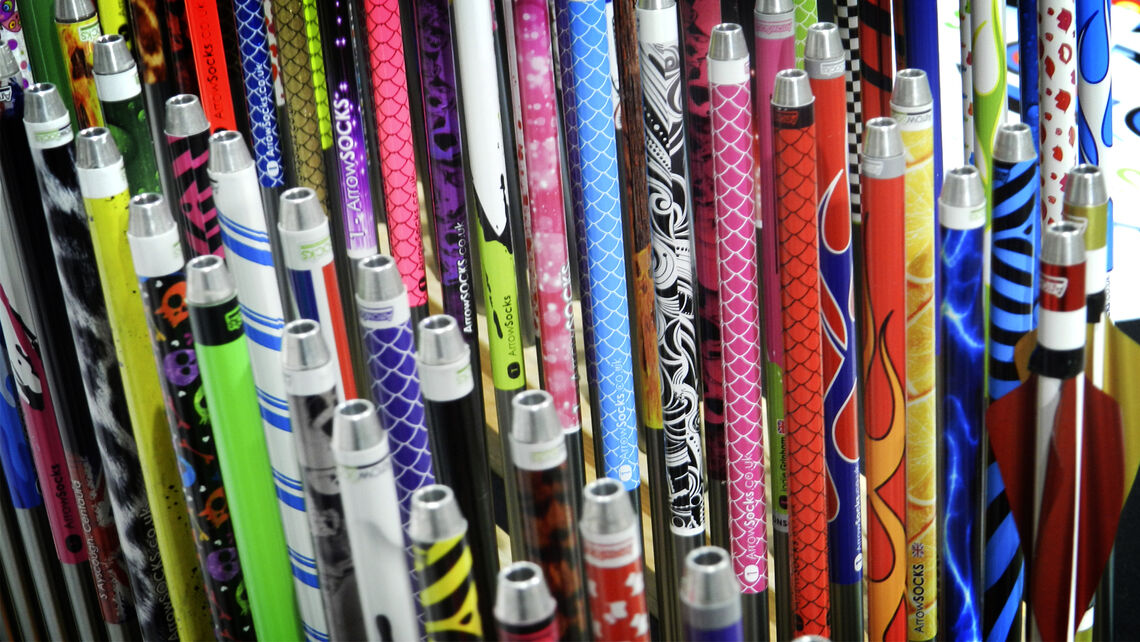
Arrow wraps are one of many ways to customise your archery equipment. Wraps are used for arrow identification, labelling shafts with your name and a number, protecting the shaft from fletching adhesive, reliable vane markings – and, last but not least, making your snazzy gear stand out from the crowd!
Wraps are very simple to apply and remove, and here’s how.
Gear
- Arrow wraps
- Bare arrow shafts
- Flat surface
- Lined paper
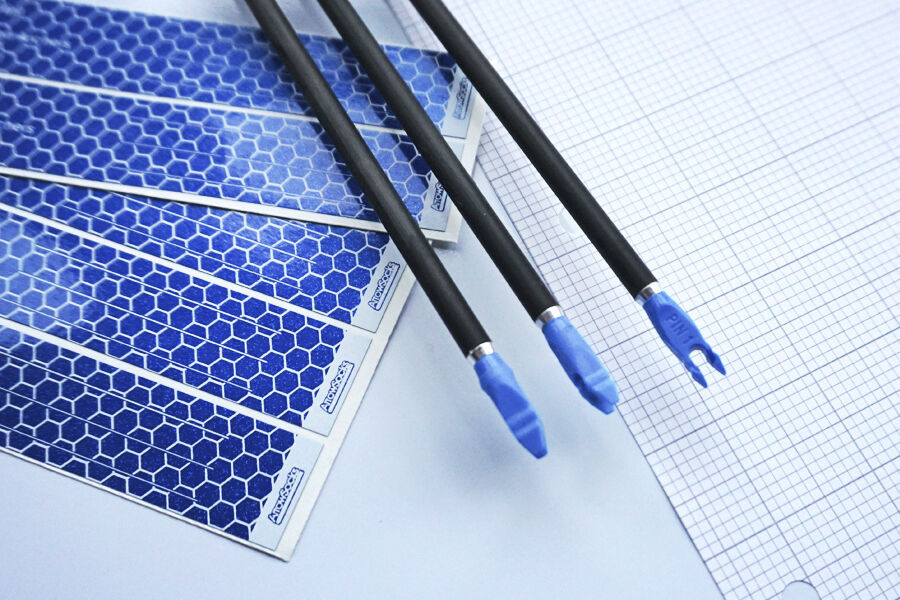
Ensure your bare arrow shafts are clean and grime free. This will help the wrap adhesive bind cleanly and tight to the shaft.
Pro tip: Before starting, place your wraps in the fridge for 10-15 minutes. This prevents them from curling or warping once you peel them off the backing.
Step 1

Peel the wrap from its backing and lie it face down on the lined paper, along one of the lines.
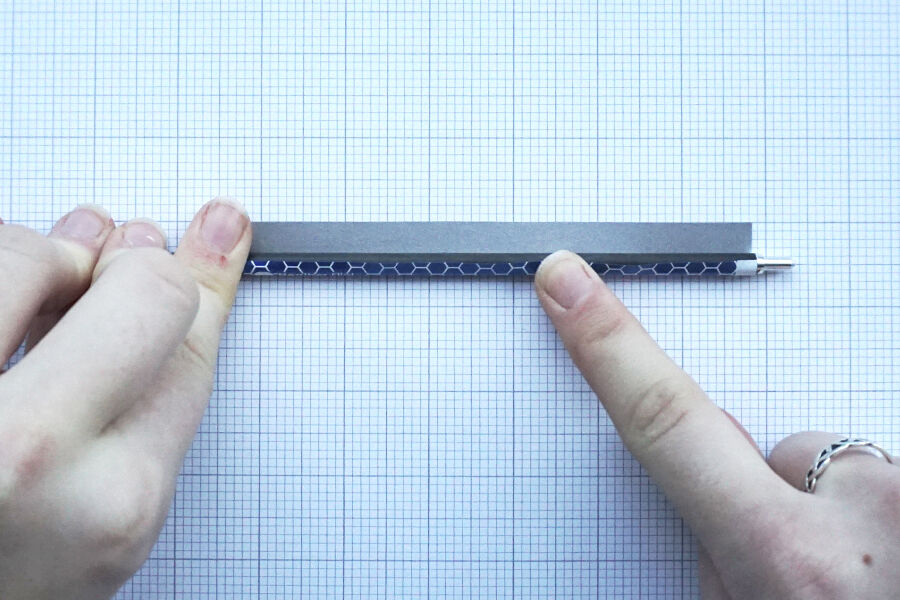
Step 2

Line up the arrow with the wrap edge. Using the lined paper can help you square off the edges of the wrap. You will need the arrow to roll flat, so remove bulky nocks first.
Step 3
Roll the arrow over the wrap, ensuring that it has sealed properly to the shaft. Press the wrap down gently as you go to push out any air bubbles.
Step 4

Run your finger along the edge to seal the wrap, leave it for a couple of minutes and you’re ready to fletch.
Removing wraps
After a while, when the wraps are worn, you might want to remove and replace them. Submerge the wrap end of the arrow in hot water to soften the adhesive before you try and peel a wrap off.
Make sure you don’t overheat the arrow – and clean the shaft thoroughly afterwards.